Miscellaneous notes on Steam Deck reshells, mods, and screen replacements
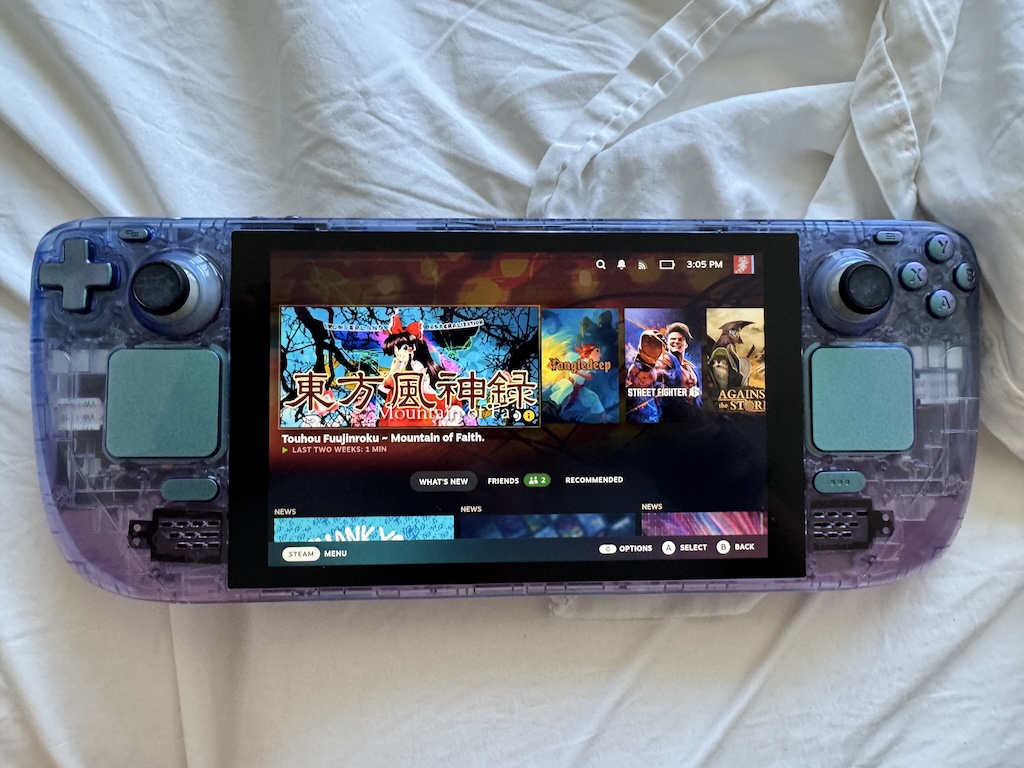
I recently spent a few days revitalizing my Steam Deck, replacing a broken screen alongside dropping in a new shell, new complementary buttons, and a clicky button mod.
This was an extremely fiddly mod, even as someone very experienced in working with electronics and reshells, so I wanted to write up a few notes on things that weren’t well covered by the guides I used.
This won’t supplant any of the disassembly/installation guides out there (I primarily jumped between iFixit’s screen replacement guide and ExtremeRate’s official shell replacement video, and I’ve heard people recommend JSAUX’s instructional video as well), but is more or less a list of “things I had to figure out for myself and wish I’d known going in”.
In my case, I was simultaneously installing a new iFixit screen, an ExtremeRate shell, an ExtremeRate set of buttons, and an ExtremeRate clicky button mod. Each of these kits theoretically includes all the tools needed for its respective installation, but…
Don’t use ExtremeRate’s tools
ExtremeRate gives you a bunch of tools: spudgers, a metal guitar pick, a suctIon cup. They all suck. In my case, I had extremely high-quality tools provided with my iFixit screen kit, as well as plenty of other screwdrivers, tweezers, and iFixit spudgers/picks/etc lying around. If you’re not in that situation, and don’t already have a good spudger, pry tool, set of tweezers, suction cup, and a few guitar picks, I’d consider picking up a repair kit from iFixit. Definitely do not touch ExtremeRate’s metal guitar pick, using a metal tool is very likely to damage your device.
iFixit’s iOpener breaks easily
My iFixit kit included a tool called the iOpener that’s essentially a heat pack you heat up in the microwave and can directly apply to e.g. the screen to loosen up the adhesive. I followed the instructions exactly for how long to heat it up, and it promptly burst, leaving me with a mess in my microwave and no heating tool.
If you have and use an iOpener, play it safe and heat it up for short periods at a time. If you don’t have one or ruin yours like me, I ended up using a hair dryer and it was fine other than needing to be a bit more careful.
The mic / ambient light sensor needs to poke through the display cage
ExtremeRate’s instructions are very clear that you should carefully remove the mic/ambient sensor cable from your old shell, and place it in the new shell before attaching the display. They fail to mention that, while the cable should live inside the metal display cage, the ribbon cable needs to poke through the top of the cage to the back of the shell or you won’t be able to attach it to the audio PCB.
I didn’t notice this until after I had already adhered the new display in place. Rather than buy new adhesive and go through the trouble and risk of damaging my new shell and screen, I simply do not have a working internal mic or ambient light sensor.
The trackpad covers are surprisingly annoying
If you’re replacing the buttons, a thing I was not expecting was how difficult replacing the trackpad covers would be. ExtremeRate’s instructions casually tell you to pry apart the plastic front-facing cover from the PCB housed inside it, failing to mention it’s held in place with adhesive. The tool they provide (and use in their video) is also both too thick and too soft to make any headway.
I used my hair dryer to heat up the adhesive, and then mostly made headway using iFixit guitar picks (my kit came with several, which was nice as this dulled many corners of them).
Also worth noting: after replacing the cover, they instruct you to apply new adhesive. This adhesive is opaque, which defeats the purpose if you’re using translucent trackpad covers. I was not using transparent covers, so I added the adhesive, but I’m told that you can simply omit the adhesive with no negative effects.
If you’re replacing the buttons, be prepared for the trackpad cover to suck, and honestly consider sticking with stock trackpad covers.
Be prepared to fine-tune the trackpad screws, even if you don’t replace them
Even if you don’t replace your trackpad covers, doing a shell swap requires removing the trackpads, which will require you to pay close attention to their screw tightness.
Each Steam Deck trackpad is made up of two pieces: a combined unit consisting of the trackpad cover, a PCB, and a set of springs that is collectively responsible for detecting touches and providing haptic feedback, and a PCB that goes behind the trackpad unit and is used to detect proper clicks.
Both of these parts are calibrated in the factory and are fixed in place precisely so that everything feels right. This calibration happens through hardware, rather than software.
Broadly speaking, the tightness of the screws for the trackpad itself (i.e. the screws directly connected to the springs) determines how tactile the trackpad is, and how viscerally you feel movement as you track your fingers across the trackpad, with looser screws giving you more motion.
The tightness of the screws for the secondary board affects the range of force registered by the hardware, which in turn affects what is recognized as a ‘click’ action (as distinct from a ‘tap’). In the Steam Input controller config for a given game, you can control the force threshold for a given click. This means there’s a little more wiggle room here, since you can more or less change calibration in software.
Unfortunately, if you are re-shelling your device or replacing the trackpad covers, you will need to tune the tightness of the screws until it feels “right”. It’s particularly annoying since you can’t really get a feel for it without fully reassembling your Steam Deck for testing.
More odds and ends
- Removing the screen sucks. Both guides are decent here, I have no advice, just know it sucks and prepare for that.
- The iFixit guide has you apply the screen adhesive pads to the screen, and then place it down into the shell. This is silly, as the adhesive is designed to specifically align with the shell’s metal bits, and trying to eyeball placement on the screen is extremely difficult. Put the adhesive on the metal bracket and then place the screen down onto it.
- The Steam Deck has many screws. The ExtremeRate kits come with new screws, but they are lower quality than the OEM ones. I would recommend being meticulous in your labeling and storing the original screws as you disassemble, so you can reuse them in a new shell. Note you will still regardless need ExtremeRate screws to attach the rear L4/L5/R4/R5 buttons.
- The OEM screws technically have two different Philips screw head sizes. Most guides tell you to have two screwdrivers on hand. In practice, I was able to successfully use a single Philips screwdriver without stripping any screws. It was a cheap no-name screwdriver I had lying around from Game Boy repair kits, so I sadly can’t provide details about its size
- If using an ExtremeRate button kit, the d-pad has one side that is notched / shorter than the other three sides. ExtremeRate’s video tutorial does not cover this, but the short side of the d-pad should be the left arrow, meaning when placing the d-pad from the back side of the Deck, it should be placed in the outermost/right position.
- I attached my replacement screen, and then after complete reassembly was frustrated to find it didn’t work. I was able to use my old display to determine the display cable was the culprit, and was able to swap it out without much fuss, but if doing this repair again I would rest the new display in its spot without using adhesive, complete the reassembly, test everything, and only then actually adhere it into place as a final step.
- Many instructions have you apply heat to the audio ribbon cable sitting on top of the battery to remove it. This is unnecessary; as long as you unhook the ribbon cable from the back of the motherboard (after unscrewing the motherboard and removing the heatsink/fan and the WiFi and speaker cables, you can carefully flip it over and remove the audio ribbon cable from the backside), you can leave the audio cable adhered in place.
- Similarly, instructions tend to have you remove the sticker attaching the fan to the heatsink so you can remove the heatsink before the fan. This is also unnecessary, just remove them both at the same time as a single unit.
- My iFixit screen replacement came with a tube of thermal paste. iFixit’s instructions tell you that there are several methods to apply thermal paste, and which you should use depends on both the CPU and type of paste, but give no Steam Deck-specific advice. I followed iFixit’s generic thermal paste guide video, and the gloved finger spread technique worked fine here.
- The community notes on the iFixit guide are insistent that you shouldn’t remove the haptics cables from their JST plugs on the left and right daughter boards, as many claim to have ripped the connector clean off the board. I have not had this problem at all, and leaving the haptics cables in place makes it extremely frustrating to work with the left and right daughter boards stuck in your way. I used the pointy end of a black iFixit spudger tool to gently pry up on the JST connector from below. When reattaching the cables, I just gently press them into place from above with my finger, being mindful of the orientation.
- You can install a new 512gb Steam Deck’s LCD screen (with anti-glare coating) in a non-512gb Steam Deck (although the ribbon cables are different, so use the replacement ribbon cable that comes with the new display). You cannot install an OLED into an LCD deck. There is an aftermarket upgrade display for LCD models, but I don’t personally think the performance and battery tradeoff is worth the increased resolution and improved color space.
Hope this is helpful!